My P1S came in on Wednesday! I can’t believe FedEx actually bumped a day ahead on that.
This thing, compared to the A1 mini, is a beast. It’s bigger, louder, even its color says beast. It took me a little more than an hour to set up – I could have done it much faster, I had read the documentation ahead of time, knew what I was looking at from the previous printer, etc. but I took it really slow and careful to understand what I was doing and where things went together. I had purchased the anti-vibration feet and had to get help to carefully mount those afterwards and stand everything up correctly.
About the feet: I like them. They really seem to work as anti-vibration supports, but they will definitely surprise you. They are a very soft plastic/rubber with a lot of flex. When the print head is whipping around it moves the whole printer – everything rocks around on those feet. It seems counterintuitive, particularly coming from vibration and telescopes, but it really doesn’t seem to change the print at all and there is no vibration that I can ‘feel’. The prints have looked great, I think they do their job. If you buy them with the printer right now they are like $1.10 for a set, and they actually put 8 instead of just the required 4 in the package so you have spares.
So what did I start printing? First, really basic stuff – 3d parts for the printer, etc. It happened to be a night that I couldn’t sleep, so I spent pretty much the whole time just cranking out little jobs and tests. I wanted some specific items for the printer, so I got those done. Then a QR code as an experiment, then finally a toy for my wife.
Having got my first non-PLA spool of filament the same day (from an order placed a week before) I decided it’s probably time to get down to actually paying attention to humidity. The PLA has seemed to do fine, but I worry about PETG and up. I finally settled on a tried and true system based around an Amazon PRAKI Dry Food box. There are several accessories available to make that really work well. I chose a largish filament tag that fits a tab on the front of the dry box and it’s associated AMS tag holders. They look really good, and instead of 3d printing the spool info I want on them, I went back to my little label printer and blasted out nicely sized labels to put on the front of the tags. They look great! You can still see what the filament looks like around them, so it’s a solid look and feel. The dry box base I chose was selected because it’s reasonably quick and cheap to print and looks nice, and also has a spot for a hygrometer.
What that comes down to is that I’ve done a bunch of printing, but of all of it, I believe I’ve printed a toy for my wife and a QR barcode as a test. I’ll get more involved in the fun stuff soon enough. Right now, my overly tidy dependent brain is focused on new parts and plans more than anything.
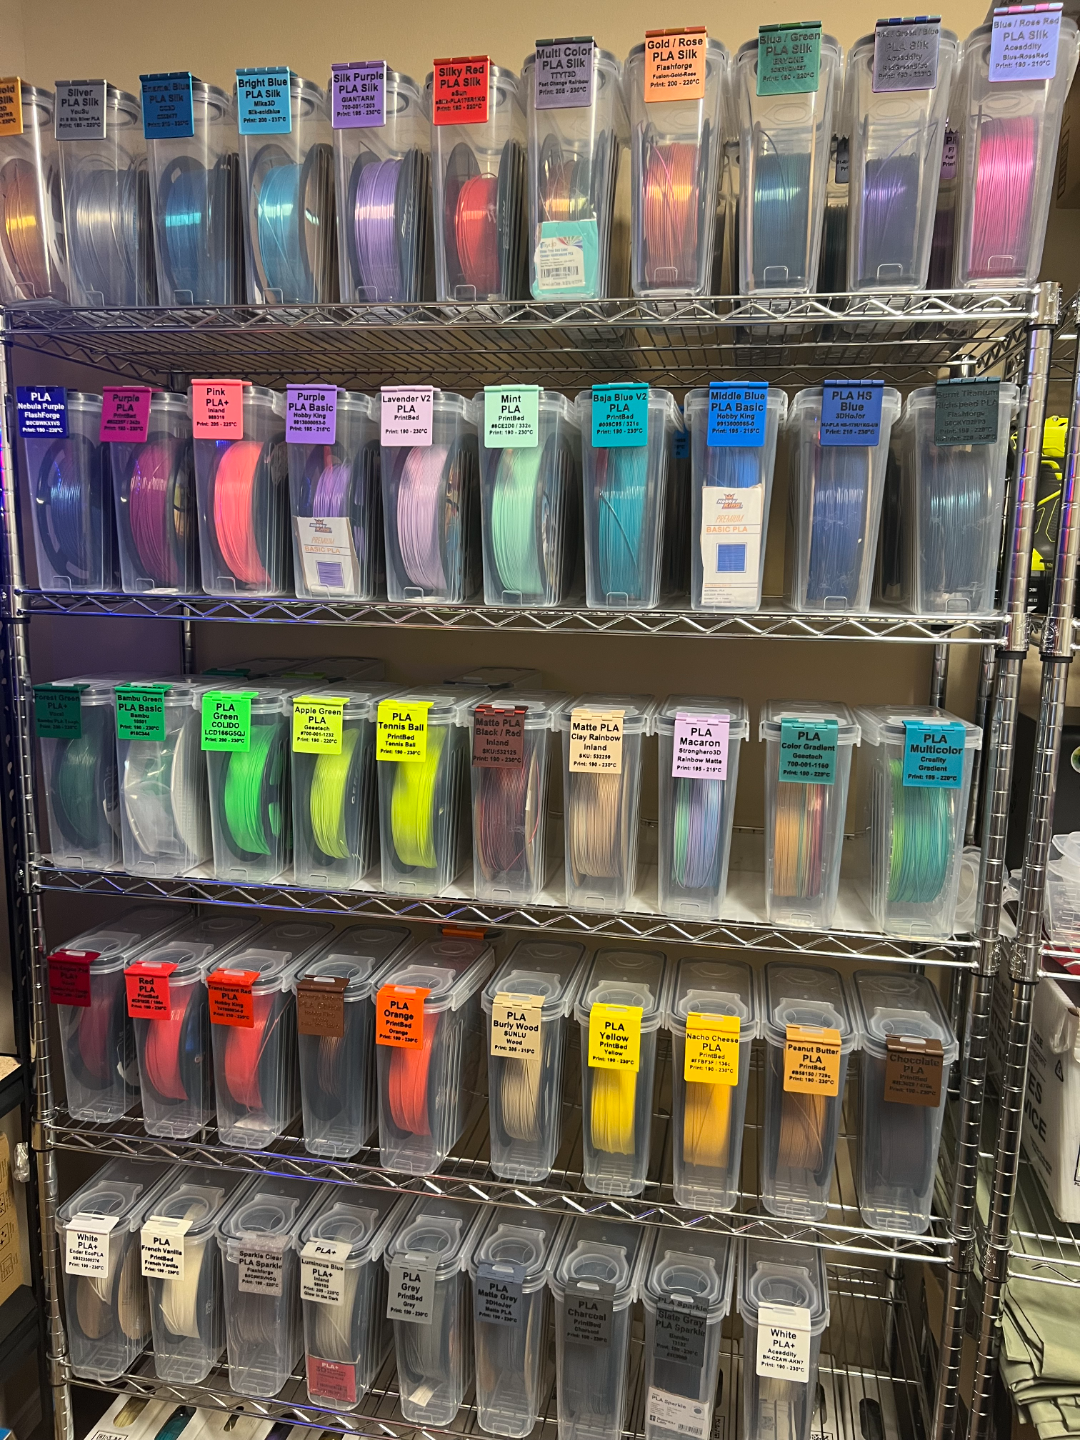
Note: I borrowed a sample image for the featured image on this page – I don’t have that many spools of filament at all and I am using a slightly different setup, but at least it gives you an idea.